|
|
|
OK, let's get started. First you need a photo and a mask. Makes sense, eh? So right click on the photos below and save them to your files so you can follow along with the tutorial.
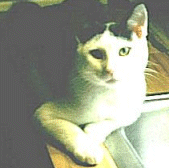
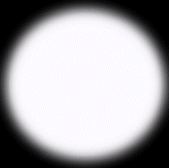
All right! Now, open PSP and open the two files. It will look like this:
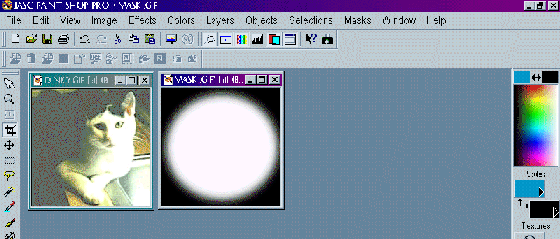
Now click on the picture named "dinky.gif", then go to Mask, New, From Image. Use the pull down box to select "mask.gif". If the word "New" is greyed out, exit the mask box, go to Colors, Increase Color Depth, 16 Million Colors, and then go back to Mask. The box will look like this:
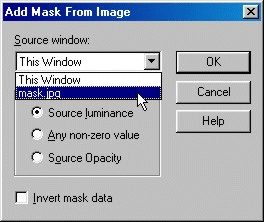
In the Mask box be sure to have the option "source luminance" selected and leave the "invert mask data" checkmark unchecked. From the dropdown menu choose "mask.jpg" and click "ok". You will see your photo masked, like this:
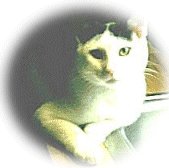
The screen will look like this:

The grey and white background shows that there's no color set for background That means the background is transparent--very important for the next step.
If you aren't happy with the results of your masking, you can easly remove your mask by going to Edit, Undo Mask From Image.
Ok, that's it for this part. Easy, huh? Next we'll merge two photos: go to Masks 2 :)
 |
 |
 |
© 2002 PetVille Mentors. All rights reserved.